
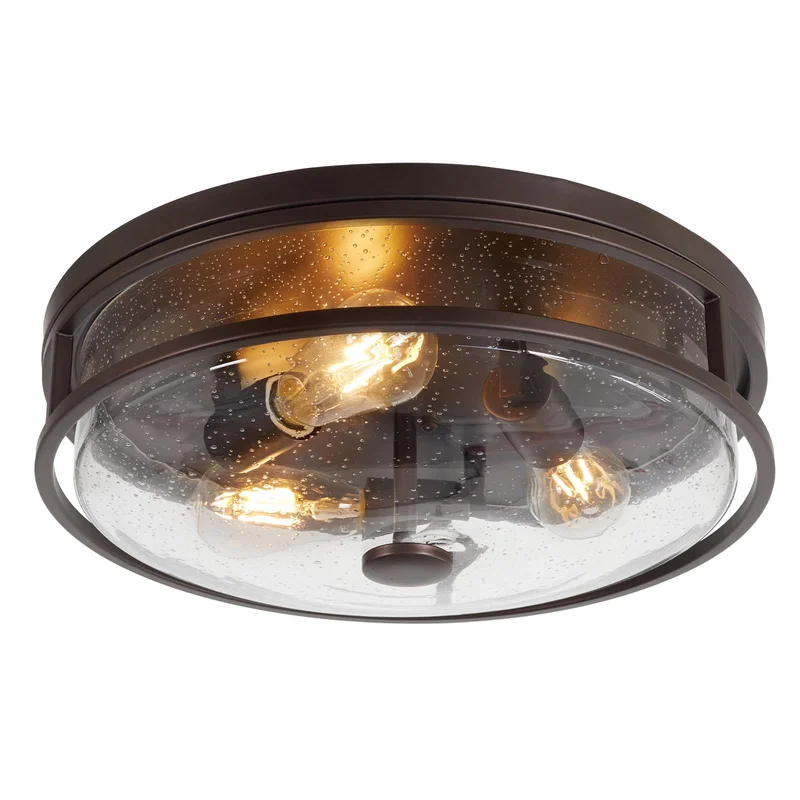
Description
Installation Of Ceiling Lights Choosing The Installation Location: After Preparing All The Necessary Installation Tools, Start By Selecting An Ideal Installation Location. For Example, In The Living Room Or Kitchen, It’S Best To Place The Light Fixture In The Center To Ensure Even Illumination And Higher Brightness. In The Bedroom, Avoid Positioning It Directly Above The Bed To Prevent Sleep Disturbances. Additionally, For Safety Reasons, Choose A Location With Strong Load-Bearing Capacity, Such As On A Concrete Or Brick Surface. Removing The Light Cover: Remove The Light Cover, Which Is Typically Secured With Either A Rotating Or Snap-On Mechanism. While Removing The Cover, You Can Also Take Down The Light Tube. Be Cautious And Gentle During This Process To Avoid Damaging The Light Fixture. Installing The Base: Thread The Base’S Electrical Wire Through The Pre-Drilled Hole In The Ceiling, And Then Screw It Into Place. Ensure That You Do Not Overtighten The Screws At This Stage To Allow For Adjustments During Inspection. Connecting The Wiring: Once The Base Is Securely Fixed, Connect The Power Wires To The Light’S Wiring Socket. Remember To Turn Off The Power Source To Prevent Electrical Accidents. It’S Advisable To Wrap The Wire Ends With Electrical Tape In Advance And Maintain A Reasonable Distance Between Wires. Final Steps: After Successfully Completing All Wiring Connections And Verifying That Everything Is In Order When The Power Is Restored, You Can Proceed To Install The Light Cover And Decorative Elements.

Reviews
There are no reviews yet.